Table of Contents
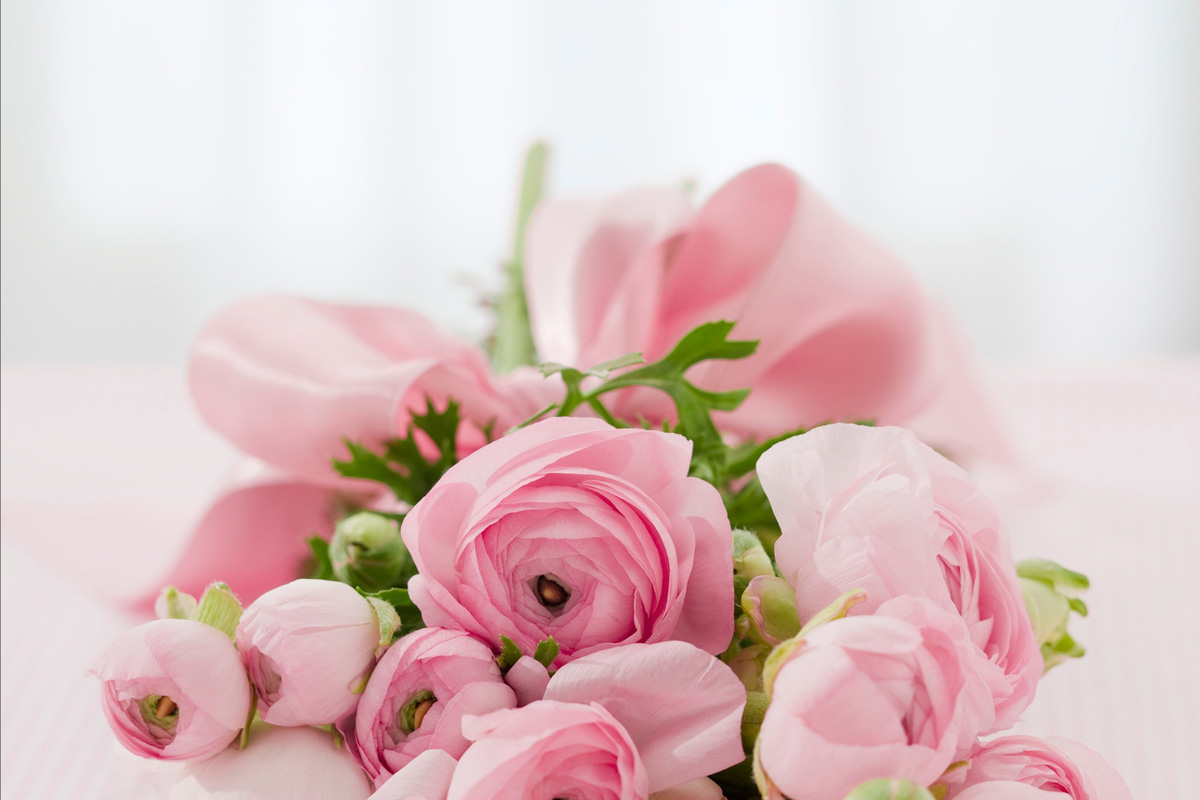
Advice on How to Make a Bridal Bouquet with Silk Flowers
Over a hundred years ago, artisans from the east began an industry that would in modern times, turn into a multi-million dollar industry – silk flowers, or fake flowers. Silk flowers are called so because they used to be sewn by hand using silk, which is one of the more sought-after materials for fabrics.
Today, much of the fake flower industry uses high-tech molding and pressing techniques to create anatomically accurate flowers called “permanent botanicals.” This is what we will be looking at today as we explore how you can make a bridal bouquet with silk flowers.
Bridal bouquets made of silk flowers are usually given away as wedding keepsakes. You can also make them for friends who have a wry sense of humor. There is no harm, as a bouquet is a bouquet, and flowers are a universal good, even if they are silk flowers. Knowing how to make a wedding bouquet with artificial flowers will save you time and money in the long term.
The great thing about using silk flowers is you have much more freedom in purchasing the types of flowers that you want because seasonality and cost will no longer be a problem.
Making a large number of arrangements will also be a snap because you will no longer worry about the flowers dying out on you, so you can just buy large packs of them online or from brick and mortar stores and get down to arranging them whenever you have free time.
How to Make a Silk Flower Bridal Bouquet
To create a nice bridal bouquet with silk flowers, you need the following types of flowers:
- Flowers with small white buds
- Foliage with nicely rounded leaves and a deep green hue
- Grasses with lots of textures on the leaves and stems
- Rounded floral textures like poppy pods
- Bright colored flowers like peach roses
- Spray rose bunches
- White or ivory garden roses
When you are done selecting the different flowers and foliage, it’s time to prepare the other tools and supplies you will need to create the DIY bridal bouquet with silk flowers.
- Birchbark
- Craft twine
- Glue gun
- Glue sticks
- Pins
- Pliers
- Wirecutter
- Flower tape
- Florist wire
- Scissors
Since this is a wedding bouquet and we want the bouquet to be as realistic as possible, we will be following the basic steps that florists follow when creating bouquets with real flowers.
- Begin construction by grabbing a pair of large scissors and cutting away excess foliage from all your flowers. The underbrush of foliage will be created later on with the specific deep green grasses and botanicals you purchased, so don’t worry about cutting away those stray leaves.
- Decide on the general length of the bouquet and snip away at the stems of your flowers. The stems should have a uniform length so they can be bunched together nicely later.
- Wrap each of the stems with the green floral tape to give each of the stems a nice uniform color. Start wrapping from the top (allow 1.5” allowance) and keep wrapping until you reach the bottom of each stem.
- After wrapping each of the stems, it is time to build the foundation of your bouquet. This is usually done by taking one of each of the different kinds of flowers and grasses you have in store and just bunching them together nicely.Make sure that this core bunch has been arranged according to your overall vision for the bouquet. The base bunch will serve as the focal point of the bouquet since you will be building around it until the desired size of the bouquet is achieved.
- Wrap your base bunch with florist wire, and tighten the grouping by using more florist tape. Wrap around all the stems and make sure that there are no loose items. Test the tightness of the bundle by giving it a good shake to see if anything comes loose.
- Begin adding more flowers to the focal point of the bouquet. Make sure that all the flowers that you add complement the focal point. Keep in mind the flow that you want, as well as the textures that you want to appear in the final product. A wedding bouquet is like a painting – you need to do it slowly if you want to create great output the first time.
- For each layer that you complete around the base bunch, apply florist wire and tape to cover the wire. Continue building until the bouquet has reached its desired size.
- When the final size has been attained, cut away excess lengths of the stems and recheck the bouquet for balance and harmony.
- Wrap the final product with the bark and use your glue gun to secure the bark around the thick bunch.
- Using the craft twine, create a thick bunch at the top and the bottom of the bark after the glue has dried. Keep winding until you have a good volume of twine. The texture of the twine will complement the bouquet.
- Use pins to attach any additional ornamentation on the surface of the bark. You can create any length of beadwork and glue these to the surface of the bark to make the bouquet sparkle.
Some additional tips when creating DIY bouquets:
- Feel free to create more than one version of the bouquet if you are not satisfied with the first attempt. It’s okay because it takes a lot of practice to get the visual details perfectly when you are dealing with flowers and so many types of color and texture.
- Experiment with different kinds of bark to see which one suits your preferences and taste. You need to keep in mind the intention (always) when creating any DIY bouquet.


Leave A Comment