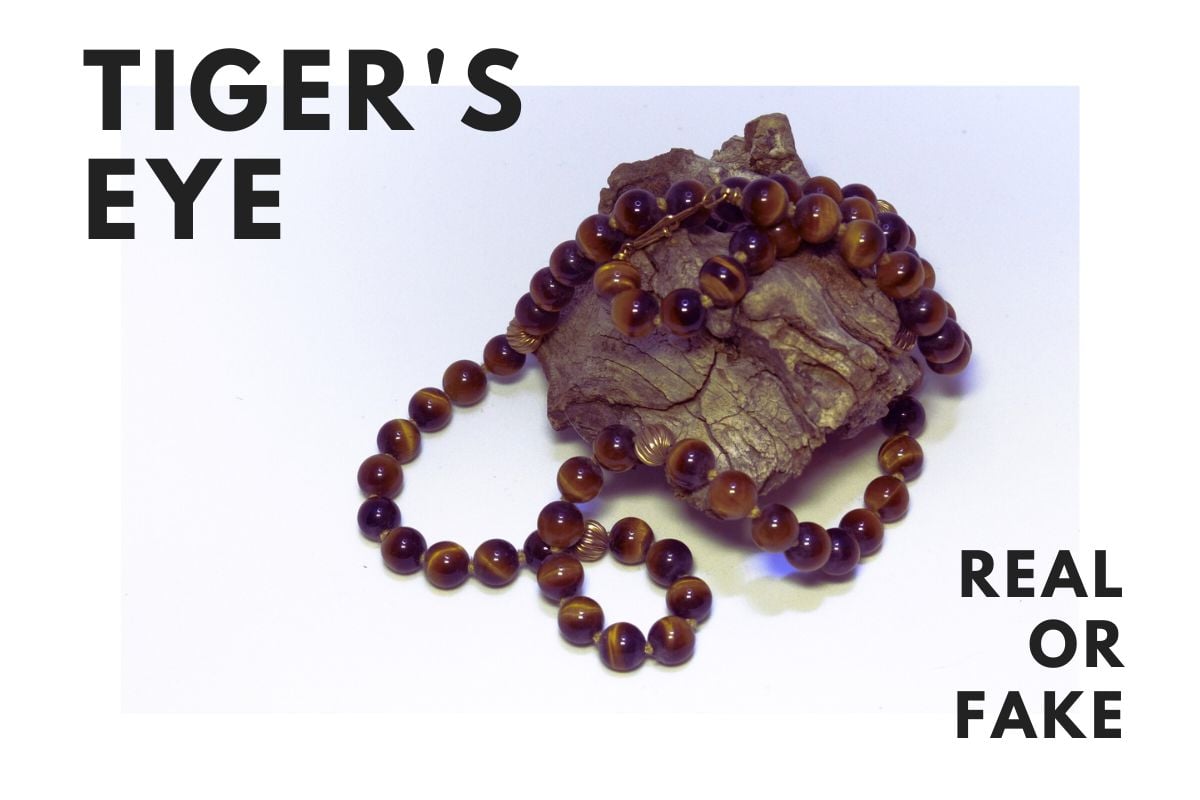
With an abundance of jewelry making kits, jewelry making tools, and jewelry making ideas online, it is no surprise that more and more people are jumping on the bandwagon and making their prized jewelry collections at home.
For those who want to fan out and make their designs more intricate and marketable, there is also an abundance of jewelry making instructions online in the form of articles and printed books. The novice jewelry maker now has the freedom to begin his/her enterprise at any time.
If you have been thinking about starting your jewelry making business at home, here are some of the things that you have to prepare for shortly.
Table of Contents
Getting the Right Tools
Handmade jewelry requires several kinds of jewelry making tools to make the process as easy and rewarding as possible for the jeweler.
- Round-nose pliers – Round-nosed pliers are the most basic tool for making beaded constructions, bangles, and wrap-around jewelry. The long tip allows the jeweler to make loops, wraps, and other modifications to the base metal wire or the copper wire to finish the design.
If you are only starting, you must practice thoroughly with your round-nosed pliers so when it’s time to create the real pieces for sale, you would work faster and more effectively.
- Flat-nosed pliers – This type of pliers is used mainly to grip or hold a piece of jewelry while the creator is manipulating it with another pair of pliers. It can also be used to cut individual wires.
- Side cutters – Side cutters are used mainly for cutting lower gauge wires that are thicker than usual. It can also be used for neatly cutting small to medium-sized bundles of wire.
- Multi-pliers – This type of pliers combine the characteristics of side cutters, round-nosed pliers, flat-nosed pliers, and side cutters.
While convenient, this type of pliers cannot do it all, and can only be used in conjunction with another pair so you can grip the wire or any other object while performing the manipulation with the other hand.
- Crimping pliers – Also called multi-cutters, crimpling pliers are designed to neatly cut wires of different gauges. The bladed portion of crimping pliers have specialized grooves that are designed to cut specific gauges of wire, from the thickest to the thinnest (usually gauge 28 or gauge 30). Crimping pliers are recommended for cutting large bunches of wire uniformly.
- Memory wire cutters – Memory wire cutters should be used when you struggle to cut a piece of wire with a side cutter or crimping pliers. Memory wire cutters have a beak-like construction that reduces strain on the wrist but is quite effective with thick metals.
A handy and indispensable tool for creators who work mainly with thick wires. There is another variant of the memory wire cutter that has a longer pair of blades that resemble garden shears. Due to the size of the blades, it’s easier to cut through tougher wires.
Adding Pendants
Pendants are defined as any object that is suspended on a piece of jewelry. The pendant is the center of attraction and the defining point of the jewelry. Pendants can be attached to a chain, bracelet, bangle, or earring with a jump ring. Use a pair of round-nosed pliers to loop and lock jump rings.
You can choose to use just one jump ring or two jump rings interlinked with each other when attaching pendants. This is called the “bail and loop” system. With the bail and loop system, a smaller loop or jump ring is attached to the chain or string, and a wider jump ring supports the actual pendant.
Some beads have large holes in them, either at the top or the center, and these holes can be used to attach the said beads to the main framework through a series of knots and loops. There is also a class of pendants that utilize a hanging drop pin, where the wire is looped through the top of the tear-shaped pendant.
Types of Threads Used in Jewelry
There are as many options for designing jewelry as there are options for the wires and threads. Below are some of the materials that you can use to thread your beadwork:
- Leather thong – Leather thong is well-known for its beautiful color and texture. In the beginning, it might feel a little challenging to work with because of its resistance to being bent and shaped. However, that should be solved when it soon softens as beads are stringed onto it.
Leather thongs come in many colors and thread thicknesses, too. However, leather thongs that thinner than 1 millimeter should not be used for single-thread constructions as they may not be able to take the load or weight of the beads and embellishments, and the final product may break.
- Nymo loom – Nymo loom threads are notable for their durability even with higher or thinner gauges.
The smallest nymo loom threads can support a full string construction without breaking. Nymo loom is recommended for beadwork that requires the use of beads with really small holes (e.g. precious stones, semiprecious stones, and genuine pearls).
- Wildfire thread – Wildfire beads are thermally-bonded and are ideal for constructions that require the use of many seed beads. Wildfire beads do not stretch and they are strong as can be. Ideal for multi-thread constructions, especially for multithread necklaces.
- Silk thread – The silk thread has been used for making jewelry for centuries, and it remains a practical option in modern times. Silk threads look very professional and are also naturally attractive.
Combining two silk threads with different colors can create a stunning design that you can’t replicate with other kinds of threads. This thread is also ideal for small-holed embellishments such as those found in precious stones where the drill size is understandably small.


