Wire wrapping crystal is one of the most beautiful DIY jewelry you will ever see, and if you are engaged in the healing arts or the crystal energy arts, we are sure that you have thought of wearing one or more of your tiny crystals as jewelry. While there is nothing wrong with just placing the crystals on your desk, bedside table, or in your purse, there is just something so special about having crystal jewelry. You can use crystal glue to strengthen your creations, so they won’t fall apart when you wear them.
If you have no experience wrapping raw crystals for making DIY crystal jewelry, there is a basic procedure. This project is easy, so it is perfect for beginners. If you have no experience making homemade jewelry, you’re in luck because the first DIY jewelry you will be making will have an actual raw crystal in it!
What is truly remarkable about the idea of learning about crystal wrapping is you can take what you have learned from working with DIY crystal jewelry with other items that you might want to transform into jewelry.
People collect cute things all the time, from tiny seashells to sea glass. These things can eventually be made into jewelry, and it only takes a bit of ingenuity to get crafty with them. In all honesty, all you will need for making this type of jewelry are a pair of jewelry pliers and some jewelry wire.
Table of Contents
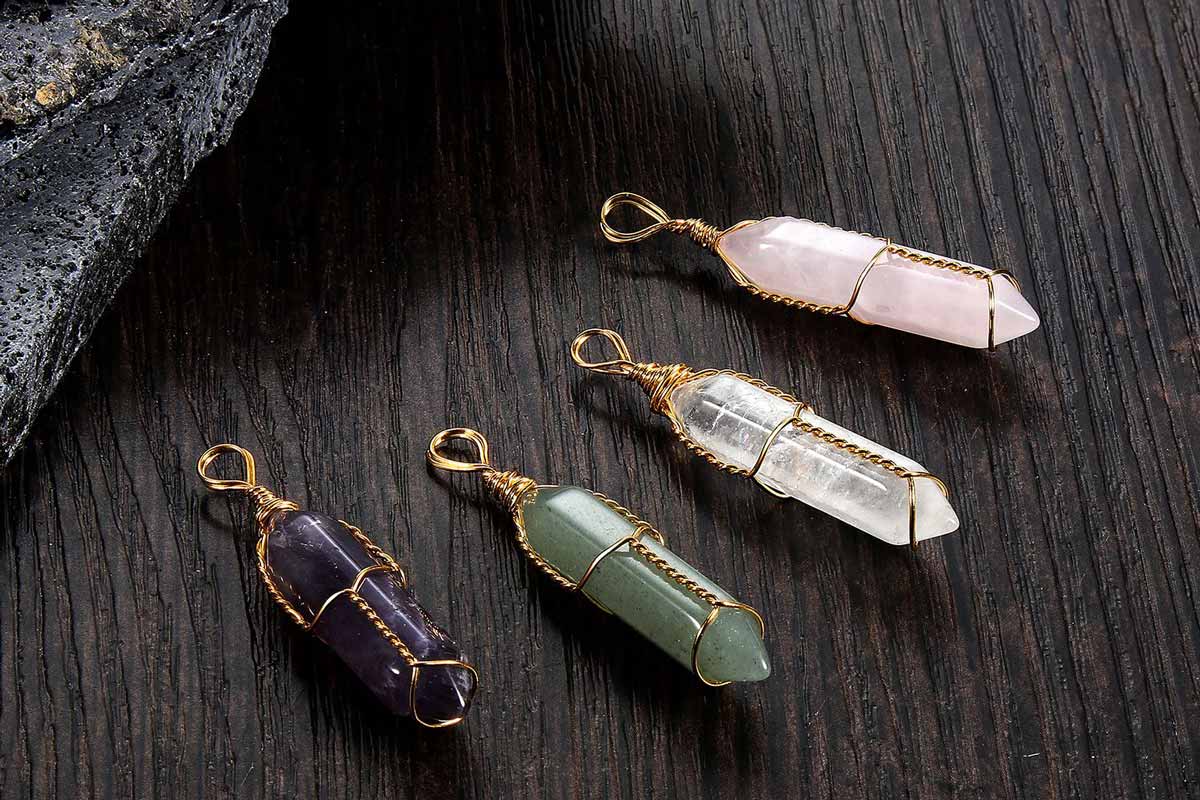
Wire-Wrapping a Raw Crystal
For this project, you will need two one-foot jewelry wires if you have an average-sized stone. If the stone is more significant or more prolonged and you want to wear it around your neck like a necklace or choker, then you may need to double the amount of wire or twice the length.
For this kind of project, you will need what is called a simple crystal. Simple crystals may or may not be cut or polished. Either way, as long as you have the right crystal with you, you are still going to benefit from the metaphysical properties and healing benefits of your chosen crystal.
Here are the steps.
- Place your jewelry wires parallel to each other and find the middle or center. Make a simple twist to join the two wires and continue twisting until you’ve wound the wires 4-5 times. This will be the base of the ‘cup’ that will hold the raw crystals. You can adjust the length of the twisted area depending on the size of the crystal. You can gauge the width needed by eyeballing the size of the crystal or by placing the crystal beside the wire for reference.
- Place the tip or bottom of the raw crystal beside the inner edge of the twisted wire. There will be a V-shaped space here that will ideally hold the tip of your crystal.
Assuming that you have a small pillar crystal that stands easily on your table or a smaller raw crystal that has more or less an irregular shape, expand the space beside the twisted area so that the pair of wires can grasp the bottom.


- When the bottom of the raw crystal is secure, begin twisting the two wires again on the opposite side of the crystal. Bend the pre-twisted side to the side so that it hugs the raw crystal.
- After wounding one side to the equal measure on the other side, separate the wire strands and begin winding them on each side. This time, the winding and twisting will take place on the front and back of the crystals. Do one side first and make sure that the twisted wire is tight and secure before moving on to the next side.
Keep in mind that your jewelry wire has to be secure while you wind it because you are essentially forming a cage for the crystal. Should the wounded section come undone while you are walking or running, you risk losing your raw crystal when you are at work or doing house chores.
- Continue twisting the wire on either side of the crystal until you reach the top. You have to remember to push the crystal downward as your work the cables, so the bottom or tip of the crystal will always be secure. Otherwise, the crystal might go up slightly, creating an unsightly gap in the crystal cage as you finish the jewelry wiring.
- When your wires reach the top of the crystal, you need to create what jewelry makers call a bail. The bail is essentially two bunny ear wires wrapped with what remains of the jewelry wire.
You may have noticed that there is a lot of remaining wire after making the cage. This was intended – the bail will act as the tightener or cap of the jewelry, and it secures the crystal as well as the two loops that you can then use to connect your crystal with your choice of cord or metal chain.

Get Creative with your Raw Crystal Jewelry
Many people don’t realize when they are working with crystals because they don’t necessarily have to make a necklace every time. Sure, necklaces are rad, but you can also make other kinds of jewelry like bracelets and even earrings for smaller crystals.
Once you have the main wire framework complete for your crystal, you have several options. You can call it a day and add the additional cord or wire to complete the creation, or you can expand the design.
Expanding the design involves adding elements to the crystal cage to make the wiring design more ornate. This is possible because of several anchoring points throughout the framework, and the main wireframe will support additional wire designs.
Another option would be to enhance the current design with some beadwork.


More articles you may interest:
Wire Wrapping Tips for Jewelry Making Beginners
8 Essential Tools For Wire Wrapping For Beginners
How to Choose the Right Wire for Jewelry Making?


