Interested in making DIY mala beads? Mala beads are a powerful form of prayer beads used in various cultures to set intentions, aid in meditation, and connect with higher powers. It is present in Hinduism, Tibetan Buddhism, and other major faiths around the world. It is the equivalent of the rosary, which is also a type of prayer bead construction, albeit with fewer beads involved.
Table of Contents
How to Make a Mala
The average number of beads in a full mala bead construction is 108 mala beads, however, if you are making custom beads for yourself, additional beads and charms may be added to amplify your spiritual power or energies. There are no hard and fast rules for the construction of mala bead bracelets. It would be best to follow your intuition and your spiritual needs for this one.
Today, we are going to teach you how to make your mala beads bracelet from scratch. Take note that the terms “mala beads bracelet” and “mala beads necklace” are interchangeable, as mala beads can be held during chanting, wrapped across the wrist and forearm as a bracelet or worn around the neck as a necklace. The average length of mala beads is twenty-two to thirty-six inches, so it has diverse applications. You can also make it as long as you want if you want to wear it as a bracelet so that it would wrap around your wrist and forearm sufficiently.
Before beginning the construction of your mala beads, it is crucial to give thought first as to what the mala beads would contribute to your spiritual wellbeing.
This involves deciding what beads to use. You can use a variety of materials for making mala beads, including wood and seeds. However, unless the content has some significance to you, at least on a personal level, you will be missing out on an excellent opportunity to create a spiritual device that can potentially aid you for years.
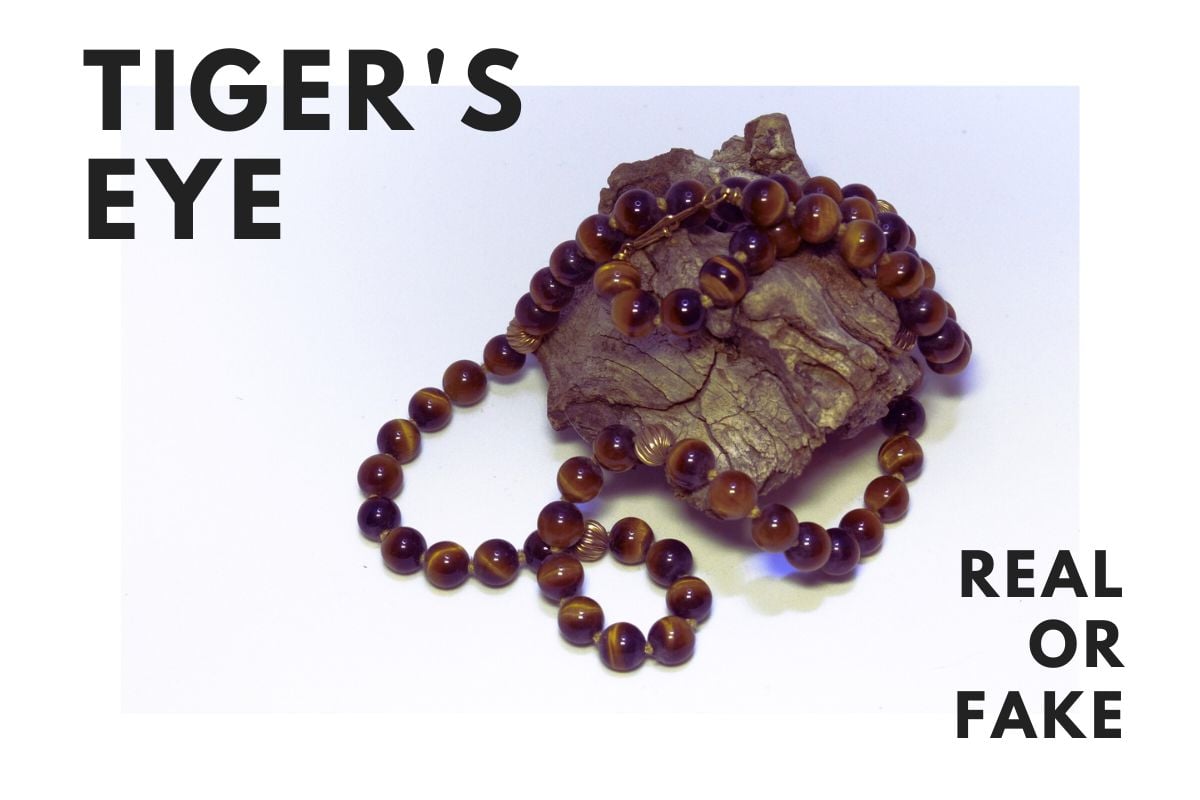
Various beads, semiprecious stones, and precious stones can be used for mala beads, including rose quartz, rhodochrosite, moonstone, lava stone, amethyst, tiger’s eye, and the like.
Full bead constructions with precious stones maybe a little on the expensive side, so you don’t have to use precious stones for all 108 beads. Adding a single stone from each class that you need will be enough for general energy healing practices. The important thing here is that you can add gems that you know will fulfill your needs and spiritual goals.
For our project today, you will need the following:
- one guru bead (this can be an exclusive bead that is dedicated to your teacher, guru or mentor),
- 108 beads of your choice
- smaller spacer beads (these are not included in the bead count, and they are optional),
- a pair of scissors, industrial adhesive or any strong glue that you can use,
- cleanser for your mala beads (singing bowl, some dried sage, a bowl of salt, whatever you can produce to cleanse your beads for first use).
Instructions:
Step one is to cut 110 inches of cord or roughly three feet of wire or string. We recommend using the most robust cable that you can find, like elastic cotton cord, leather cord, or even fibrous rope that fits the beads if you can find it. You are going to be loading a lot of pellets at one time, so the bracelet has to be as durable as possible for daily use.
The mala beads will be divided into two sides. Each side will contain 54 main beads, and the number of spacer beads will be up to you. It would be best to take some measurements so you know how many spacer beads can be added without crowding out the main beads. Each bead requires one knot.
Begin with 18 beads with their matching spacers, followed by another 36 dots, and so on. At the midpoint of the rope, there should be one counter bead and a knot, and this will serve as the anchor of the mala beads when you wear the mala beads around your neck. The mala beads construction has to be symmetrical, so the resulting necklace/bracelet will be comfortable to wear.
Douse each end of the rope with some industrial glue or crazy glue and make them pointy. There should be one knot on each end, with the final space left for the guru bead. You may add a tassel if you want, or any other charms if that pleases your spiritual self. Congratulations! You have created your very own set of mala beads. Remember to cleans your mala beads first before using it, so any unwanted energies from other people will be removed, and it can be safely used for chanting, meditation, etc.
Using Mala Beads For Beginners
There is no need to feel uncomfortable when using mala beads for the first time. If you want to use it while reciting mantras, here’s what you should do:
- Get into a comfortable position and hold your mala beads bracelet on your right hand.
- Visualize your intention and think of how it would feel for your plan to come true and come through, finally. Focus on that positive and warm feeling emanating from your heart. Let your fingers climb to the first bead of the mala beads bracelet.
- State your mantra, either in your mind or through audible words. Keep the intention at the center of your mind, and let the feeling just permeate your being.
- Climb to the second counter bead and do the same thing. Simply repeat the process until all the beads are used up. You can also stop at one point and rest if you wish. Again, there are no hard and fast rules when it comes to using prayer beads, but we do recommend that you take the meditation seriously so that you will get the most benefits from your practice.
- Remember to cleans your prayer beads after use to recharge it.


